Dealing with Grief Journal
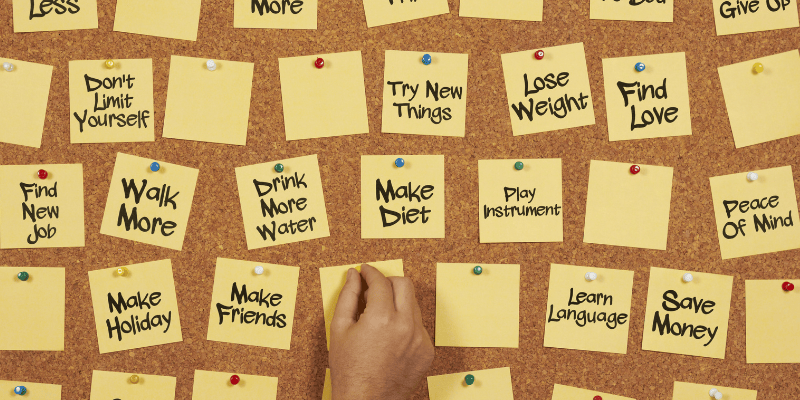
  10 Letters to Santa – A Whimsical Holiday Tradition
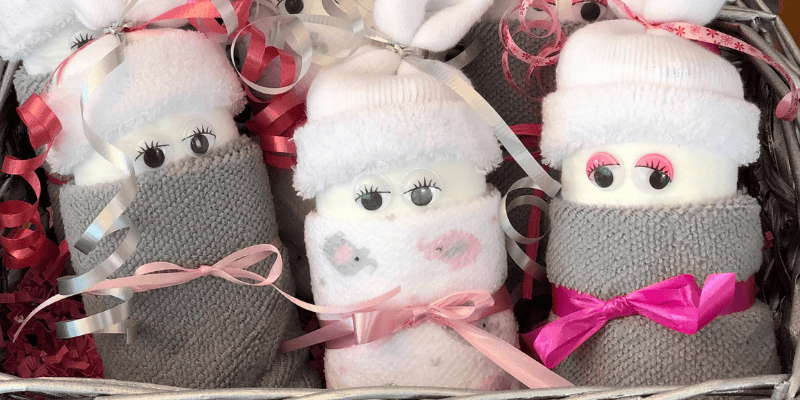
 Creating a diaper cake is a favourite craft/gift that ends in an exciting yet practical gift for moms/parents-to-be.
It makes the perfect gift for baby showers. And it also provides a much-needed useful item for the new baby. The beauty of diaper cakes is how much fun you can have making them. And the creativity you get to use.

This blog will guide you through the process of making your own diaper cake. From gathering materials to adding those final finishing touches.
Whether you’re a beginner or a veteran crafter, you’ll find that making a diaper cake is a rewarding project.

How to Start Making Diaper Cakes
Beginning your diaper cake project is all about preparation and understanding the basic steps involved.
First, decide on the size and theme of your cake. The most popular ones are a three-tier cake. This is usually what is created as a baby shower gift. It is actually a tall cake.
These are different than regular baby shower gifts for sure! You can always opt for a small diaper cake if it will be easier to transport and fit in the nursery better. Just cut down on the materials suggested below.
You can even make a one tier diaper cake. They are adorable.
Next, think about the color scheme or theme you’d like to follow. This will guide your choices when choosing fabrics, ribbons, decorations, and toppers/props.
Another thing to consider is whether the “cake” will be used as a baby shower decoration. Then it would definitely be a good idea to “theme” the cake to match whatever needs to match the baby shower theme.
If you are good friends with the mom/expectant parents, you should ask if they plan to use the cake in the nursery as decor prior to or after the baby’s arrival. This will help guide you with your diaper purchase.
You will want to purchase diapers off their registry. Also the size of diapers that will allow the cake to be used as decor if they wish. You would not want to use newborn diapers.
Remember, the more detailed your plan, the easier it will be to create.
Materials Needed For Diaper Cakes
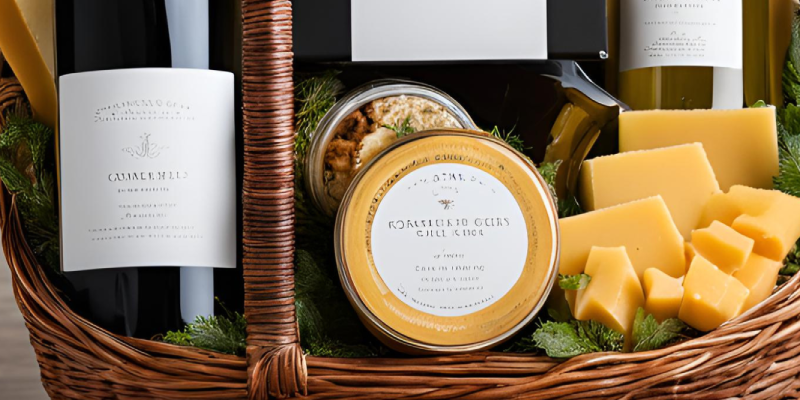
• Diapers (number of diapers – around 60-100 depending on cake size) • Rubber bands (both large rubber band for the diapers and small for individual rolls) • Cake boards ( number will depend on your tiers) • An empty toilet paper roll (use this at the top to help stabilize your topper/prop) • A personalized blanket and coordinating fabric for other tiers • Ribbons in various widths, colors, and designs • Decorative items (baby items – toys, baby shoes, props, etc. to be used as toppers for the cake) • Hot glue gun and Shreds (colors to coordinate with cake – purchase at Dollar Store)
Rolling and Banding the Diapers
Take a stack of diapers and start by rolling each diaper tightly from the open end (top of the diaper) to the closed end. Secure each rolled diaper in the center with a small rubber band. This will help to keep it in place.
This step is the basis for your cake. A tight diaper rolled, and neatly banded diaper makes sure a firm and round cake tier will form. This will help in making a perfect circle.
Be sure to have enough diapers (rolls) for the size of cake you are making.
Make sure all the diapers are rolled consistently so you will maintain the shape of your cake.
Building the Bottom Tier/First Tier of the Diaper Cake on the Cake Board
Start assembling your cake by placing a group of rolled diapers on a cake board. You can use a large rubber band to keep them together. Stagger the diapers to create a dense, even layer.
This bottom layer usually contains the most diapers, making it the largest tier. Make sure it is well put together and stable, as it will support the rest of your cake.
Wrapping the Bottom Tier of the Diaper Cake with Personalized Blanket
Wrapping the bottom tier with a personalized baby blanket not only secures the diapers in place but gives your cake more stability. It also adds a special, customized part to your cake.
Place the blanket around the top of the base layer, adjusting it to cover the layer neatly, (you will need to fold it several times). Now secure it with decorative ribbon and hot glue the ribbon.
The blanket will serve as a meaningful keepsake for the mom/expectant parents after the cake is disassembled.
Before moving to the middle and top tiers, you will want to place shreds on top of your bottom layer. Be generous. Then spread them out evenly and pat them down. Prepare for your next cake board to be placed on top.
You can trim your shreds from all layers after you have completed your cake to get the final look you want.
Creating the Middle Tier and Top Tier
Repeat the same steps with your diapers for your middle tier (second tier) and top tier (third tier). You will use fewer diapers with each tier you create.
Any extra diapers you have leftover can be given to the new mom/expectant parents. They will surely appreciate this!
You can cut cardboard to wrap your fabric around giving it a nice smooth surface and hot glue the fabric edges on the inside. This fabric can match the baby’s nursery theme. Or once again can go back to being a match for the baby shower theme (which, in most cases matches the nursery!).
Wrap with more ribbon for that extra special touch and to help make it more stable.
The different textures and colors between the tiers will add depth and interest to your diaper cake.
Be creative with all of your ribbon. Not only does it stabilize, but you can add bows, or use things that add to the theme. Wide ribbon also helps hide any imperfections! It just gives it a cleaner look.
Remember to add your shreds in between each layer of your cake. The top is very important, as it will show the most.
Your shreds do not have to match. You can use various colors if you’d like, as long as they coordinate with the rest of your cake.
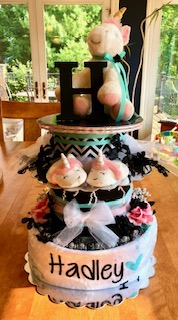
Adding Personalized Touches and Unique Items
Once the entire steps above of your cake are complete, you will have the perfect tiered effect. It’s time to personalize it. Consider the mom/new parents’ interests, the nursery theme, and shower theme. Also any particular needs the baby might have when selecting your prop/topper.
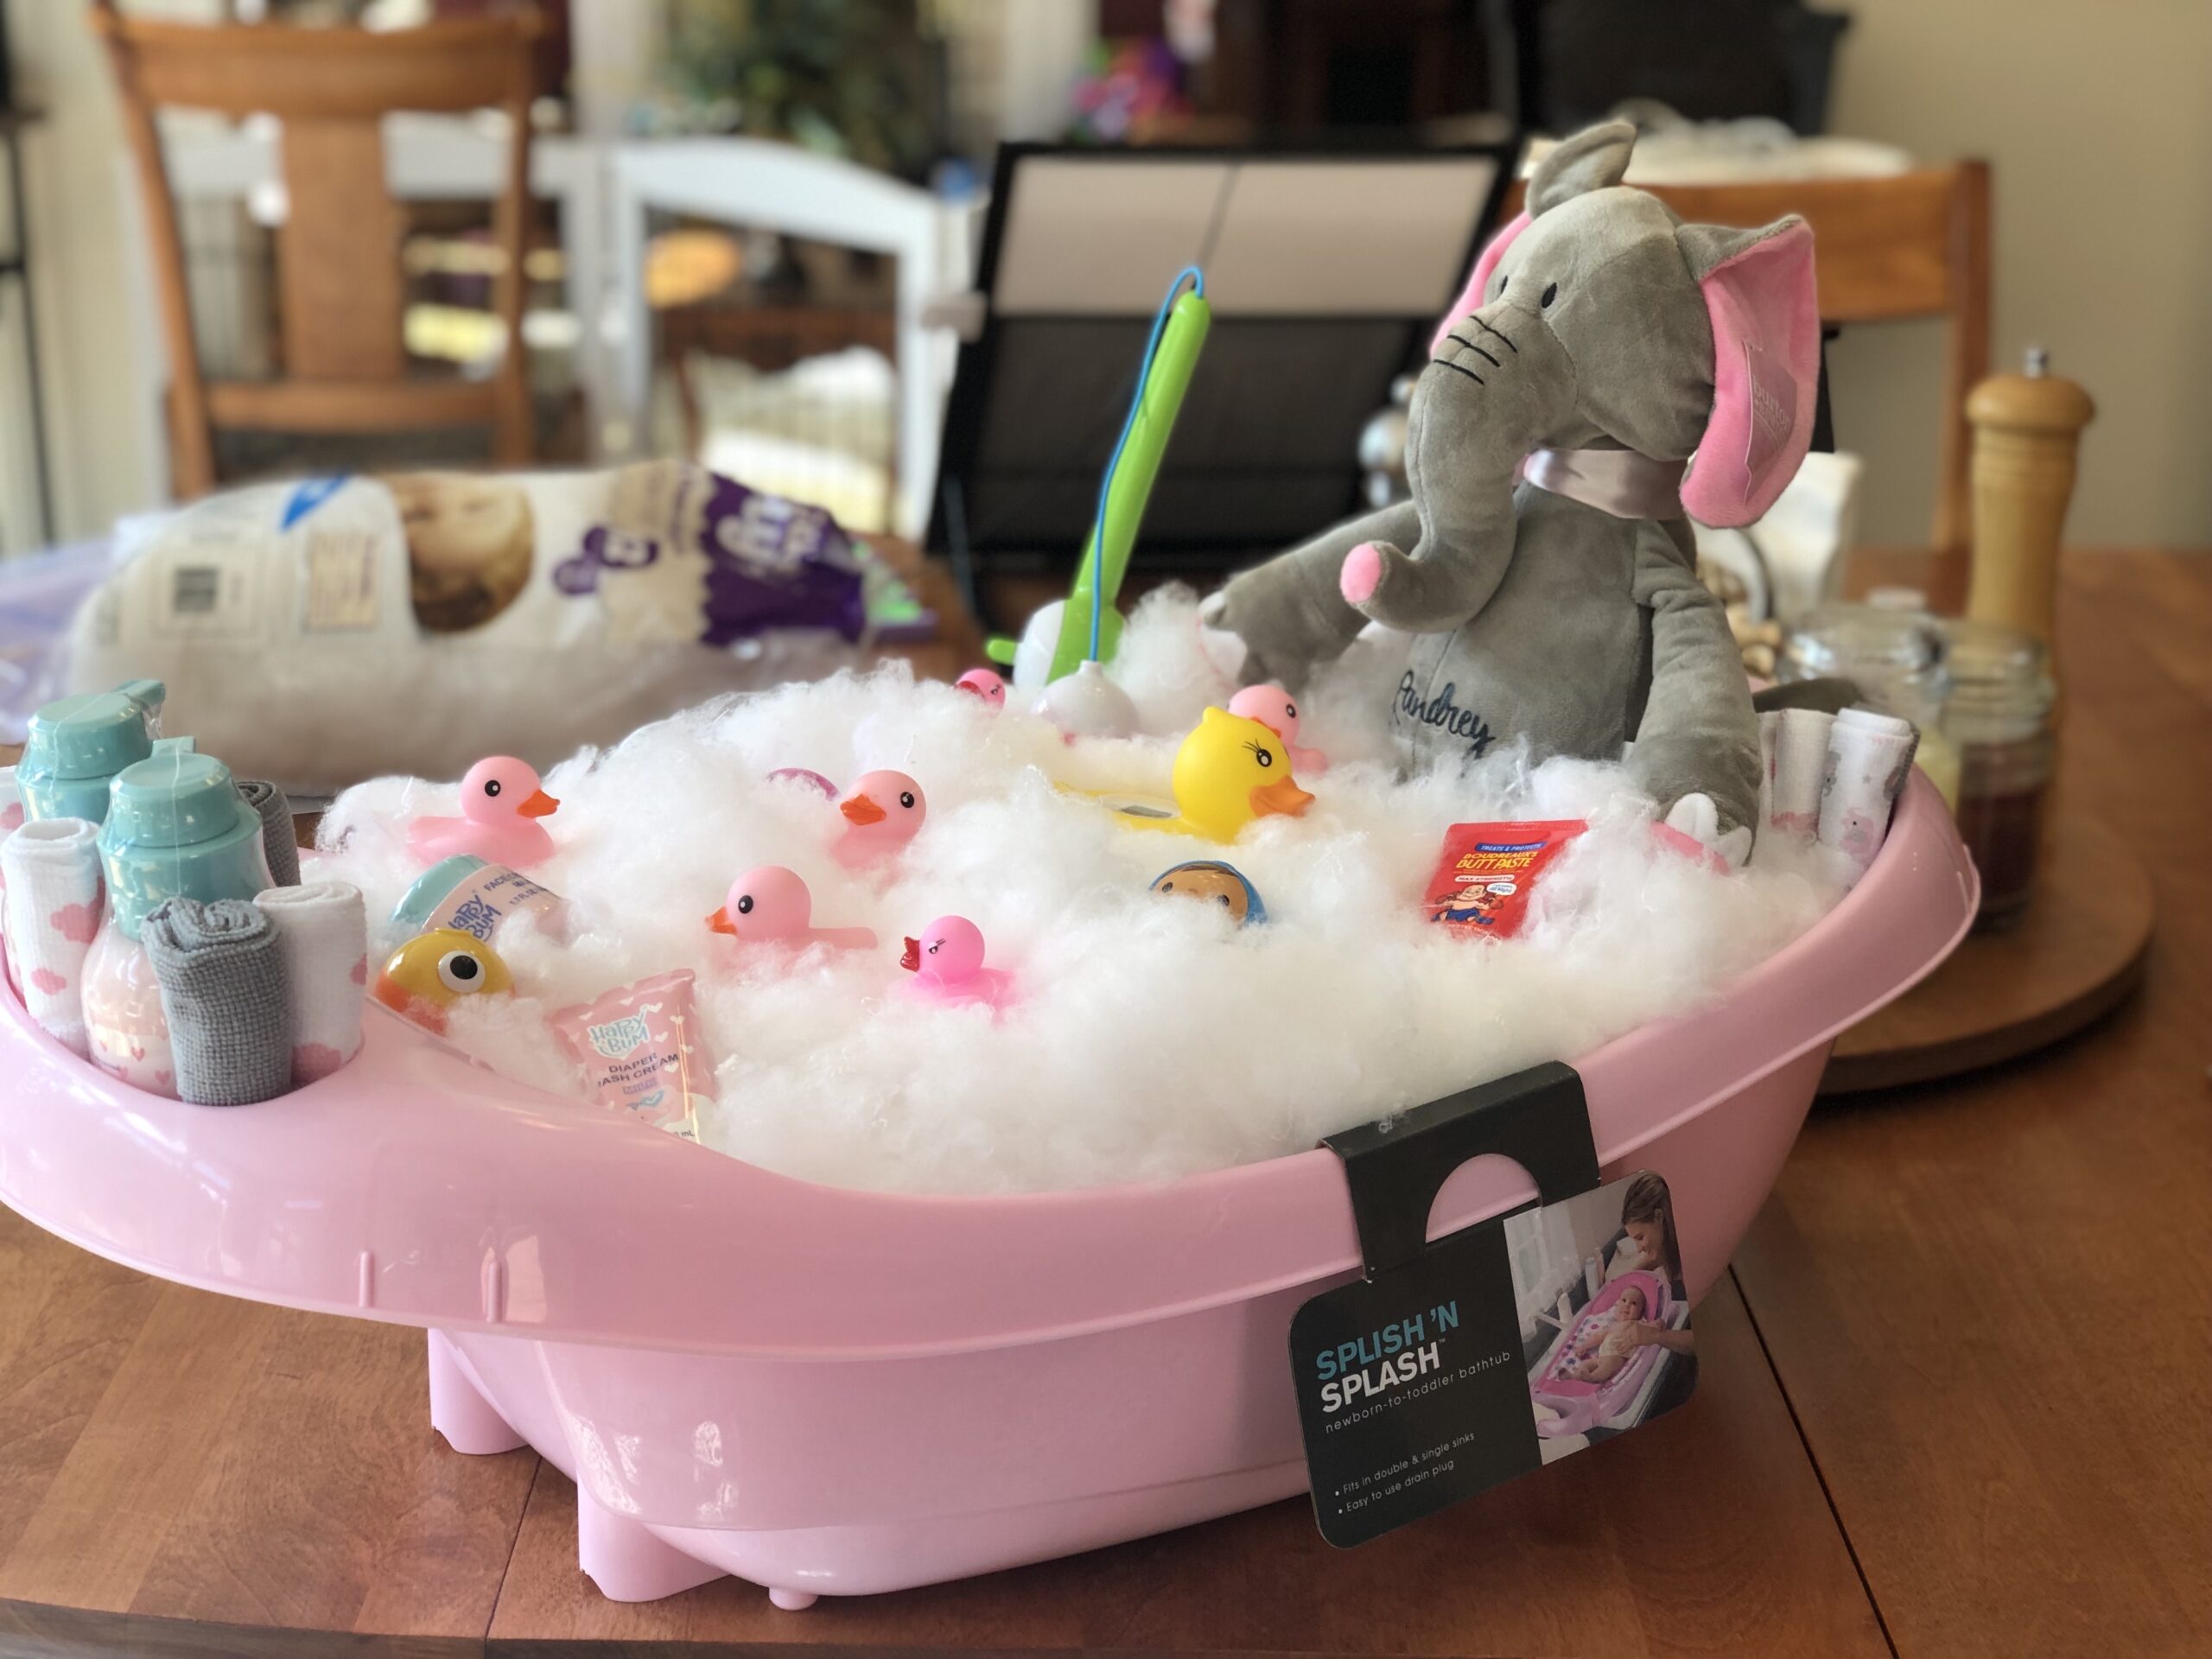
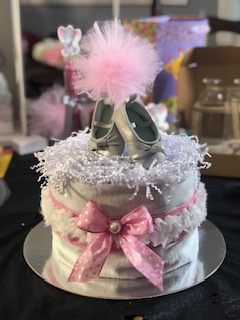
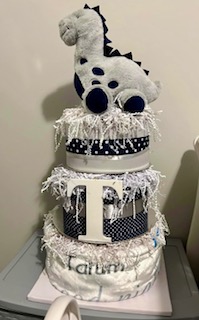
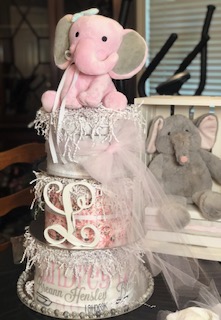
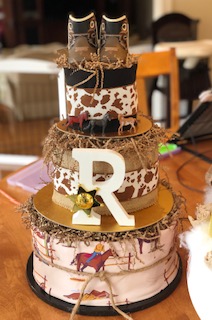
Now for the fun part! The top-tier decorations can range from practical items, like shoes, to special decorations. This can be plush toys or baby snow boots. It’s up to you.
Adding a personalized baby bracelet to a wooden initial letter of the baby’s name for little girls can add such a surprise factor. This usually fits nice on the second layer.

The beauty of a diaper cake is the fun of customizing. Each cake you make can be as unique as the baby it’s created for. It will have you looking forward to the next baby shower creating your great gift.
Ideas for Diaper Cake Toppers
(Shoes, Cars, Stuffed Animal, Teddy Bear) • For a touch of fun, place little tissue-stuffed baby shoes atop the cake. • Toy cars or small plush animals are perfect for adding a touch of charm. • Baby boots, especially for a winter-themed baby shower, can be cute and useful items.
When finishing your diaper cake, be sure all elements are securely attached. Especially any decorative pieces. Remember, while the cake should look amazing, transporting it and storing in the nursery should remain a priority.

Finishing Touches: Your Diaper Cake is Almost Ready!
For your final step, review your cake creation, making any last adjustments or adding decorations. Your finished product should look like a traditional tiered cake.
Consider placing the cake on a decorative platter or down in a large box for transport. If you place in a box, you can stuff paper around it to stabilize it for transport.
Attach a card or a note to the cake as a sweet gesture of your love and well wishes. Such a thoughtful and handmade gift is sure to be the talk of the baby shower. Also a cherished gift for the mom/expectant parents.
Making a diaper cake is a fun and creative process. It allows for such creativity and excitement and provides a useful gift for new moms/parents-to-be.
Follow these steps and put your own style and creativity into it. You’ll be able to make beautiful and practical diaper cakes for every baby shower!
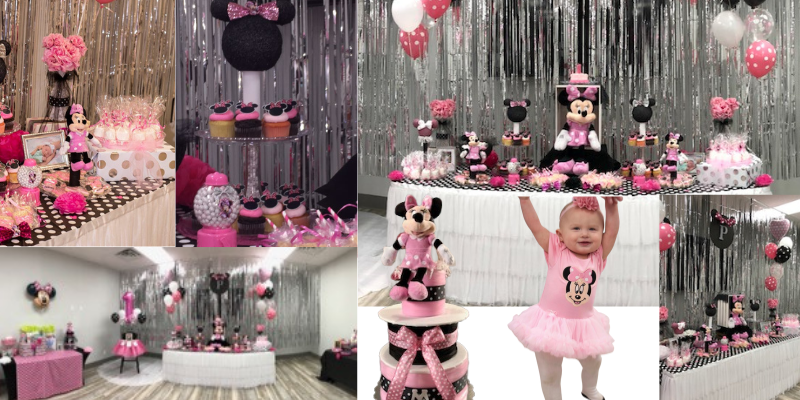
Also Read: 1st Birthday Best Minnie Mouse Theme Party: Budget-Friendly Ideas
“NOTE: Affiliate links may be used in this post. When you buy through my affiliate links, I may earn a commission at no extra cost to you. Full disclosure here. “